
Pour Over Brew Guide for Hario V60 - Kalita Wave - Fellow Stagg
POUR-OVER COFFEE CAN BE EASY WITH THE RIGHT GUIDANCE, LETS DIVE IN!
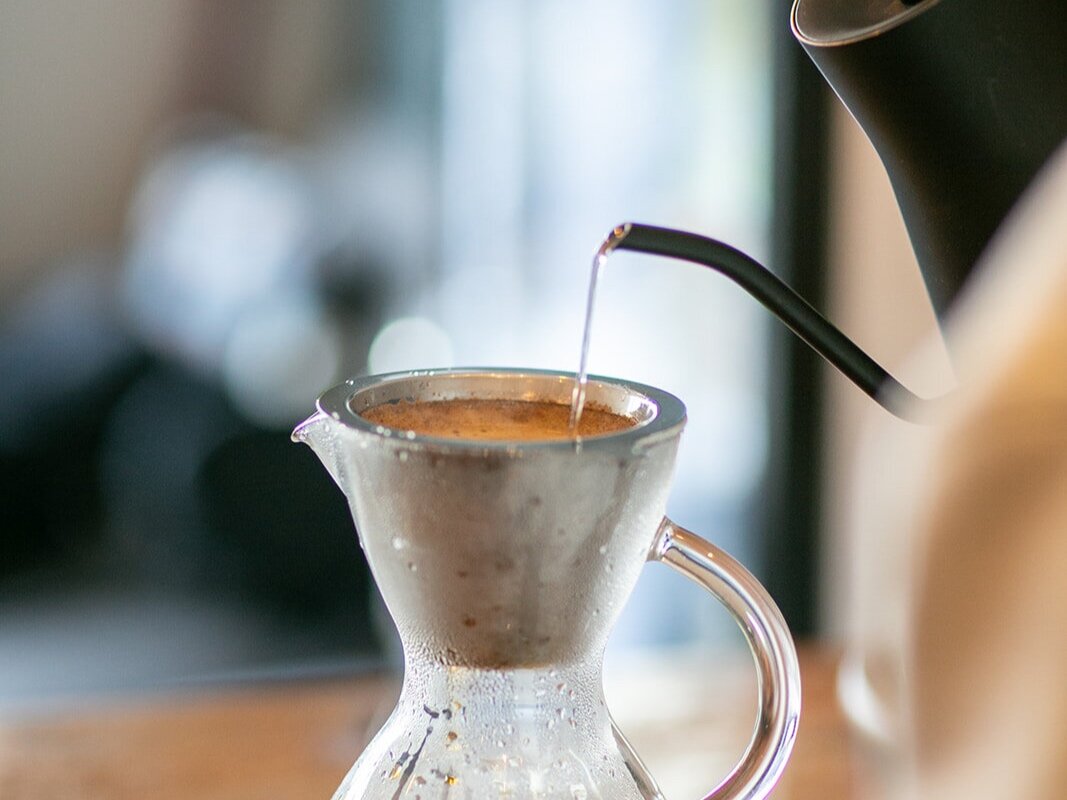
The pour-over method is a great way to brew coffee at home with precision! This instructional is how to brew coffee using the Hario V60. You may get different results with other pour over tools. We will cover what tools you will need along with a step by step guide.
What you’ll need:
Single Origin Coffee that was roasted at least 4 days ago (20g)
Goose neck kettle (also try the fellow electric kettle)(300g)
Hario V60 and filters
Any food scale
Mug or carafe
Try this bundle pack by Hario !
Coffee grinder (hand grinders are cheaper but harder to use. Burr grinders are more expensive but more accurate and consistent)
A timer
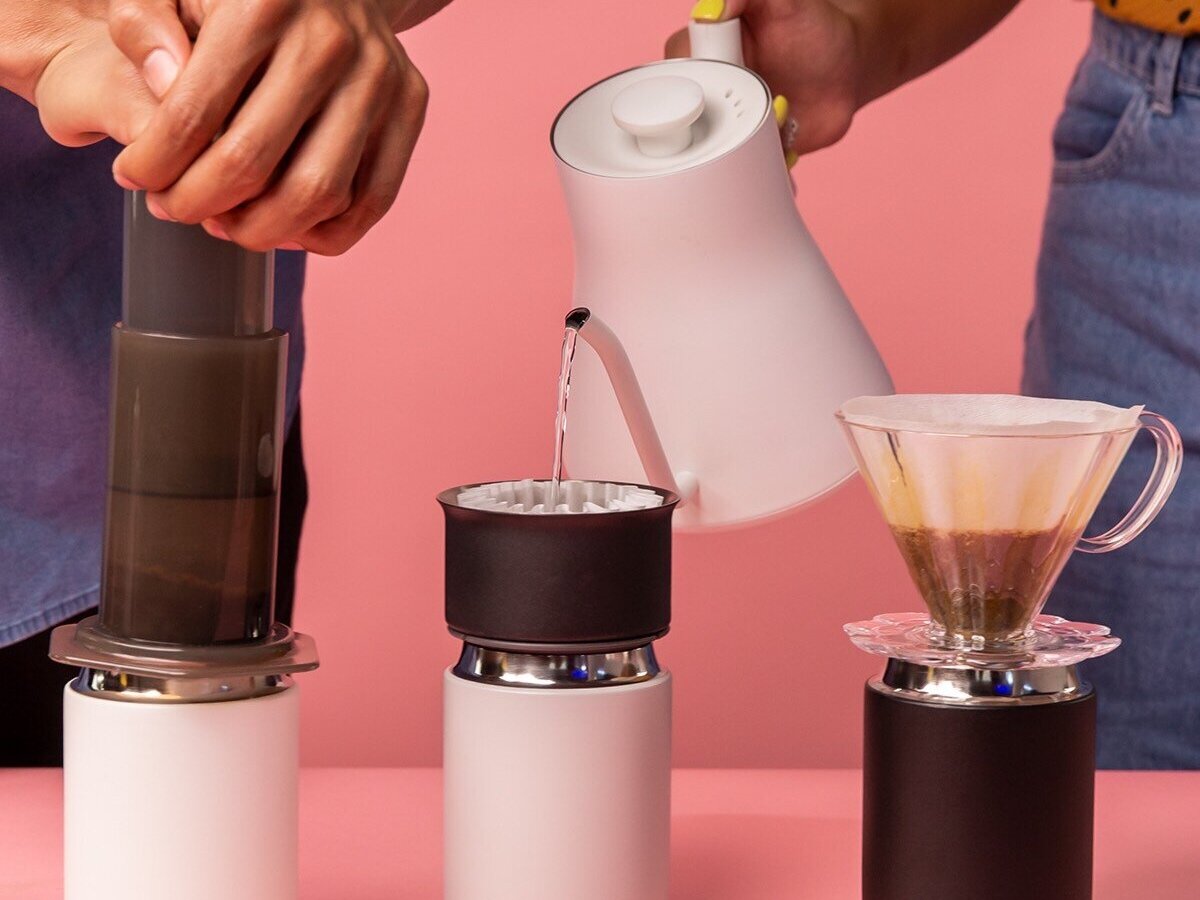
photo courtesy of Fellow Products
LETS BEGIN
Add 350 grams water to kettle, start heating to 204 degrees (if you don’t have a thermometer, boil the water and let it sit for 40 seconds before pouring)
Measure 20 grams of coffee
Grind on medium course (ask your barista lend you some grinds from the shop for reference!) Think sea salt for reference
Set up your Hario V60 on top of your mug and insert filter
Wet filter using your hot water (this removes any taste from the filter as well as warm up the mug) (Warming up the mug keeps the flavor of the coffee consistent for a longer period of time)
Add coffee to the V60 chamber
Place the set up on the scale, and set it to zero
POURING PROCESS
Start timer and pour 40g of water in a circular motion
This is the bloom process that lets all the CO2 out that was trapped from roasting
At 30 seconds, begin your next pour of 100g water
Start in the center and pour in a circular motion towards the outer ring, then repeat but back to the center
Wait until half the water is drained, 15-20 seconds, before you begin the next pour of 80g water
Pour the exact same way, slow and steady
Repeat previous step for the final pour of 80g water
Once all the water seeps through you can remove the V60. If the water hasn’t fully drained, don’t let it go past 3 MINUTES
Going past three minutes runs the chance of over extraction which you do not want
Let your fresh brewed coffee sit for a few minutes before tasting it. Be sure to cleanse your palate first!
TROUBLESHOOTING
The water drained so slow and you were no where near finished by three minutes…
If this happens, chances are your grind size is way too fine. Loosen it up on the grinder and test it out. Coffee making is all about experimentation. Once you find the sweet spot of grind size, you are all set!
You notice the grind says changes every so often without messing with the grinder…
The weather and humidity have a lot to do with how your coffee moves through the grinder. If the weather or humidity of the room changes drastically, don’t be alarmed, just remember it will affect the grind size. Adjust and brew!
Should you use paper filters or a metal filter…
This is the fun part. The paper filter and metal filters extract different oils at different concentrations. You may not notice a huge difference with most coffees. What we can tell you from our experience is when you are working with higher quality, complex coffees, we prefer certain filters for certain coffees. The paper filter is always sure fire but sometimes a metal filter will emphasize a certain note or will change the “mouth feel” of the coffee. Experiment and brew!
Is there a best way to pour the water…
There is a general good way, but most baristas agree to pour in circular motions slow and steady. Some people will say they prefer the method mentioned above. Others will say they pour in circular motions around the outer ring, never returning to the center.